Build a Python environment in an Ubuntu virtual environment with MacOS Monteray / Virtualbox
table of contents
- VirtualBox Build a virtual environment
- Edit Vagrantfile
- Build an Ubuntu virtual environment with VagrantBox
- Build a Python environment using Pyenv
- Launching Jupyter Notebook in a virtual environment
- Start the Django development server in a virtual environment
VirtualBox Build a virtual environment
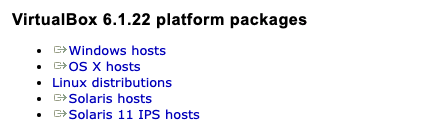
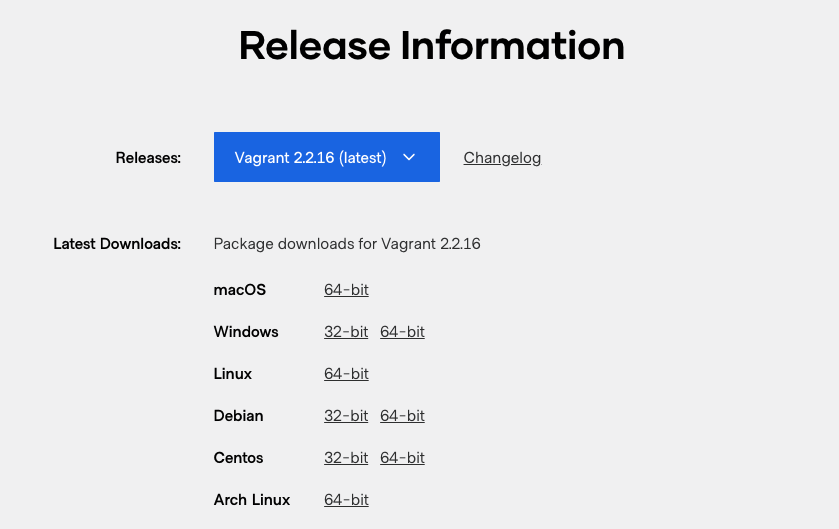
Install the latest version
Install the latest versions of VirtualBox and Vagrant respectively.
- macOS Monteray 12.0.1 (hostOS)
- ubuntu18.04 (gurstOS)
- VirtualBox 6.1.22
- Vagrant 2.2.16 64bit
$ mkdir vvv
$ cd vvv
$ mkdir ubuntu64_008
$ cd ubuntu64_008
$ mkdir workspace19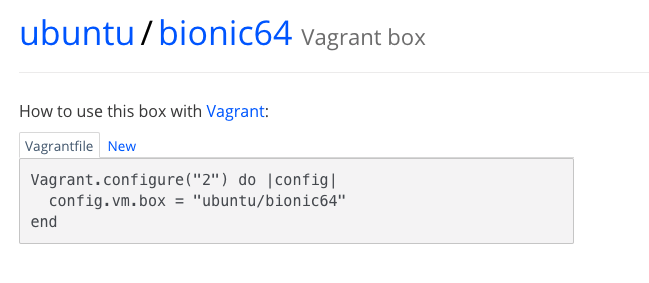
Creating a Vagrantfile
$ vagrant init ~ (VagrantBox name) will create a Vagrantfile. Here, I want to set the guest OS to Ubuntu 18.04.
$ vagrant init ubuntu/bionic64Then edit the created Vagrantfile.
Shared folder settings for local and virtual environments
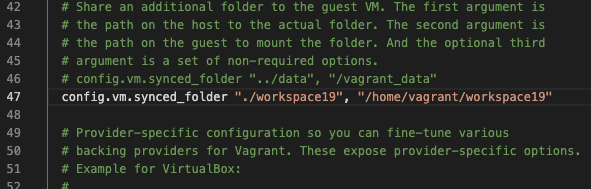
Folder created earlier: To make workspace19 a shared folder, do the followingAppend.
config.vm.synced_folder "./workspace19", "/home/vagrant/workspace19"Port forwarding settings between guest OS and host OS (when using jupyter notebook)

In order to use jupyter notebook in ubuntu virtual environment, set the guest side and host side ports to 8888.
If you use Django, which will be described later, do not set this port because it cannot be used.
config.vm.network "forwarded_port", guest: 8888, host: 8888When using the web framework Django
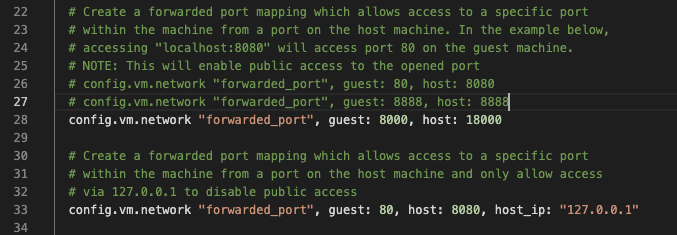
When using Django, set the guest port to 8000, the host port to 18000, and set the local IP “127.0.0.1”.
If you use the Jupyter notebook mentioned above, do not set this port because it cannot be used.
config.vm.network "forwarded_port", guest: 8000, host: 18000config.vm.network "forwarded_port", guest: 80, host: 8080, host_ip: "127.0.0.1"Enable the GUI of VirtualBox to start.
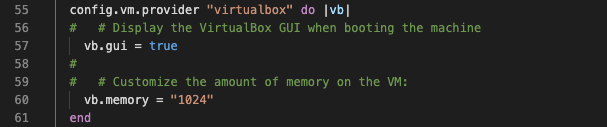
vb.gui = trueWhen the vagrant up command is executed, the virtualbox application starts and the GUI screen of VirtualBox can be started.
- The Vagrantfile looks like the example below.
# -*- mode: ruby -*-
# vi: set ft=ruby :


# All Vagrant configuration is done below. The "2" in Vagrant.configure
# configures the configuration version (we support older styles for
# backwards compatibility). Please don't change it unless you know what
# you're doing.
Vagrant.configure("2") do |config|
# The most common configuration options are documented and commented below.
# For a complete reference, please see the online documentation at
# https://docs.vagrantup.com.


# Every Vagrant development environment requires a box. You can search for
# boxes at https://vagrantcloud.com/search.
config.vm.box = "ubuntu/bionic64"


# Disable automatic box update checking. If you disable this, then
# boxes will only be checked for updates when the user runs
# `vagrant box outdated`. This is not recommended.
# config.vm.box_check_update = false


# Create a forwarded port mapping which allows access to a specific port
# within the machine from a port on the host machine. In the example below,
# accessing "localhost:8080" will access port 80 on the guest machine.
# NOTE: This will enable public access to the opened port
# config.vm.network "forwarded_port", guest: 80, host: 8080
config.vm.network "forwarded_port", guest: 8888, host: 8888
# config.vm.network "forwarded_port", guest: 8000, host: 18000


# Create a forwarded port mapping which allows access to a specific port
# within the machine from a port on the host machine and only allow access
# via 127.0.0.1 to disable public access
# config.vm.network "forwarded_port", guest: 80, host: 8080, host_ip: "127.0.0.1"


# Create a private network, which allows host-only access to the machine
# using a specific IP.
# config.vm.network "private_network", ip: "192.168.33.10"


# Create a public network, which generally matched to bridged network.
# Bridged networks make the machine appear as another physical device on
# your network.
# config.vm.network "public_network"


# Share an additional folder to the guest VM. The first argument is
# the path on the host to the actual folder. The second argument is
# the path on the guest to mount the folder. And the optional third
# argument is a set of non-required options.
# config.vm.synced_folder "../data", "/vagrant_data"
config.vm.synced_folder "./workspace19", "/home/vagrant/workspace19"


# Provider-specific configuration so you can fine-tune various
# backing providers for Vagrant. These expose provider-specific options.
# Example for VirtualBox:
#
config.vm.provider "virtualbox" do |vb|
# # Display the VirtualBox GUI when booting the machine
vb.gui = true
#
# # Customize the amount of memory on the VM:
vb.memory = "1024"
end
#
# View the documentation for the provider you are using for more
# information on available options.


# Enable provisioning with a shell script. Additional provisioners such as
# Ansible, Chef, Docker, Puppet and Salt are also available. Please see the
# documentation for more information about their specific syntax and use.
# config.vm.provision "shell", inline: <<-SHELL
# apt-get update
# apt-get install -y apache2
# SHELL
end- When using Jupyter Notebook, uncomment the following code in the port forwarding of Vagrantfile.
config.vm.network "forwarded_port", guest: 8888, host: 8888- When using Django, uncomment the following two lines of code in port forwarding of Vagrantfile.
config.vm.network "forwarded_port", guest: 8000, host: 18000config.vm.network "forwarded_port", guest: 80, host: 8080, host_ip: "127.0.0.1"Build an Ubuntu virtual environment with VagrantBox
After editing the Vagrantfile, you can build the guest OS ubuntu 18.04 with the latest version of VagrantBox with the following command.
$ vagrant box add ubuntu/bionic64 --force$ vagrant box add ubuntu/bionic64 https://vagrantcloud.com/ubuntu/boxes/bionic64/versions/20210402.0.0/providers/virtualbox.box --force
Installing the Virtualbox kernel driver
$ sudo kextload -b org.virtualbox.kext.VBoxDrv && sudo kextload -b org.virtualbox.kext.VBoxNetFlt && sudo kextload -b org.virtualbox.kext.VBoxNetAdp && sudo kextload -b org.virtualbox.kext.VBoxUSB && sudo kextload -b org.virtualbox.kext.VBoxDrv && sudo kextload -b org.virtualbox.kext.VBoxNetFlt && sudo kextload -b org.virtualbox.kext.VBoxNetAdp && sudo kextload -b org.virtualbox.kext.VBoxUSBvagrant up command execution
After successfully installing the VirtualBox kernel driver, run the vagrant up command. The following Virtualbox screen will be displayed during execution, but leave it as it is.
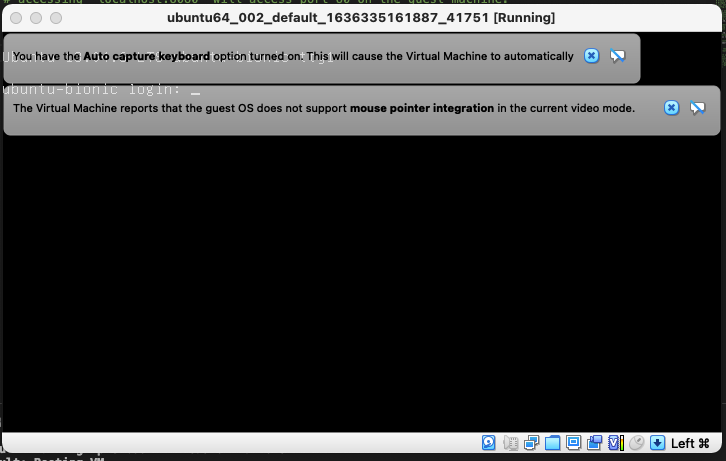
$ vagrant up
$ vagrant status
$ vagrant ssh$ sudo apt update
$ sudo apt upgrade Build a Python environment using Pyenv
Use the pyenv library to install Python and anaconda3.
Install the libraries required for Pyenv installation
Install the required libraries for pyenv with the following command, and finally git clone and install pyenv.
$ sudo apt install -y build-essential libssl-dev libffi-dev python-dev$ sudo apt install build-essential libbz2-dev libdb-dev libreadline-dev libffi-dev libgdbm-dev liblzma-dev libncursesw5-dev libsqlite3-dev libssl-dev zlib1g-dev uuid-dev tk-dev$ git clone https://github.com/pyenv/pyenv.git ~/.pyenvPass the path of Pyenv
Pass the path of pyenv. For the guest OS ubuntu18.04 in the virtual environment, add the path to .profile.
$ echo 'export PYENV_ROOT="$HOME/.pyenv"' >> ~/.profile
$ echo 'export PATH="$PYENV_ROOT/bin:$PATH"' >> ~/.profile
$ echo -e 'if command -v pyenv 1>/dev/null 2>&1; then\n eval "$(pyenv init --path)"\nfi' >> ~/.profile
$ echo 'eval "$(pyenv init --path)"' >>~/.profile
$ echo 'export PYTHONPATH=:"$HOME/tegant/app"' >>~/.profile$ source ~/.profileInstallation of Python / anaconda
Of the pyenv command
$ pyenv install --listSelect the version such as python / anaconda to install with.

After selecting, install with the following command. If you want to use machine learning etc., it is a good idea to select the version of anaconda.
$ pyenv install 3.8.4An example command with $ pyenv install (version or list name) is when installing python3.8.4. After the installation is complete, check the version of python used on your system with the following command:
$ pyenv versions
Since the version marked with * is specified for use in the system, for example, if you want to specify python3.8.4, do as follows.
$ pyenv global 3.8.4After specifying, set the reading settings and reflect.
$pyenv rehashFinally, check the version of python, and if it is the specified version, it is successful.
$ python -VInstall the required libraries with pip install ~, and check the installed packages with pip list.
Launching Jupyter Notebook in a virtual environment
$ jupyter notebook --no-browser --ip=0.0.0.0 --allow-rootIn the case of a virtual environment, execute the above command and access the URL shown as a result to start the browser and use Jupyter notebook.
Start the Django development server in a virtual environment
If you want to install Django and check the operation of the development server, execute the following command in the directory where manage.py of the Django project is located, and whether the development server will start on the port of the guest OS set in the Vagrantfile. Please check.
$ python manage.py runserver 0:8000To check with a browser, access with the local address set in the Vagrantfile and the port on the host side.
http://127.0.0.1:18000