MacOS Monteray・VirtualboxによるUbuntu仮想環境にPython環境を構築する
目次
- VirtualBox仮想環境を構築する
- Vagrantfileを編集する
- VagrantBoxでUbuntu仮想環境を構築する
- Pyenvを使ってPython環境を構築する
- 仮想環境下でのJupyter Notebookの起動
- 仮想環境下でのDjango開発サーバーの起動
VirtualBox仮想環境を構築する
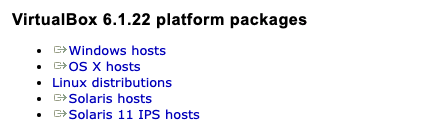
最新バージョンをインストール
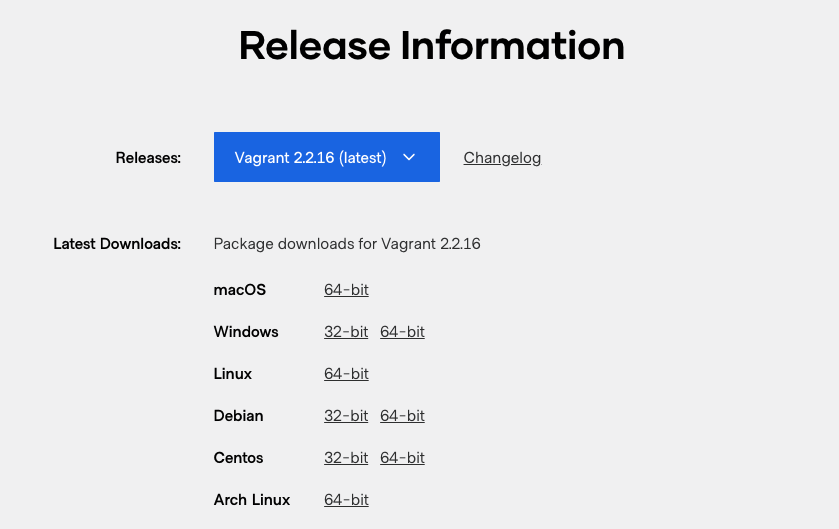
VirtualBoxとVagrantのそれぞれの最新バージョンをインストールします。
- macOS Monteray 12.0.1 (ホストOS)
- ubuntu18.04 (ゲストOS)
- VirtualBox 6.1.22
- Vagrant 2.2.16 64bit
$ mkdir vvv
$ cd vvv
$ mkdir ubuntu64_008
$ cd ubuntu64_008
$ mkdir workspace19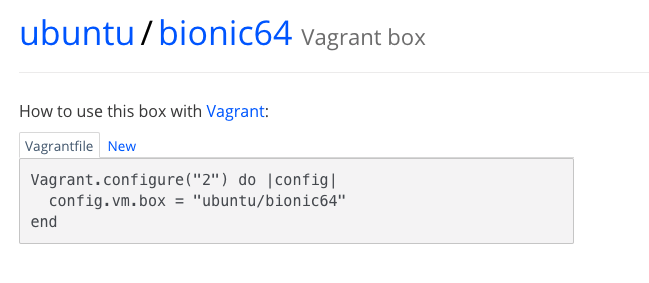
Vagrantfileの作成
$ vagrant init ~(VagrantBox名)でVagrantfileが作成されます。ここでは、ゲストOSをUbuntu18.04にしたいので
$ vagrant init ubuntu/bionic64とします。次に、作成されたVagrantfileを編集します。
ローカル環境と仮想環境の共有フォルダ設定
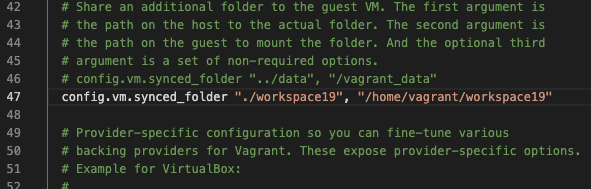
先に作成しておいたフォルダ:workspace19を共有フォルダにするために以下をを追記します。
config.vm.synced_folder "./workspace19", "/home/vagrant/workspace19"ゲストOSとホストOS間のポートフォワーデイング設定(jupyter notebookを使用する場合)

ubuntu仮想環境においてjupyternotebookを使用するために、guest側とhost側のポートを8888に設定しておきます。
なお、後述のDjangoを使用する場合には、このポートは使用できないので設定しないでおきます。
config.vm.network "forwarded_port", guest: 8888, host: 8888WebフレームワークDjangoを使用する場合
Djangoを使用する場合には、guest側のポートを8000に、host側のポートを18000に設定しておき、さらにローカルのIP”127.0.0.1″を設定しておきます。
なお、前述のJupyter notebookを使用する場合には、このポートは使用できないので設定しないでおきます。
config.vm.network "forwarded_port", guest: 8000, host: 18000config.vm.network "forwarded_port", guest: 80, host: 8080, host_ip: "127.0.0.1"VirtualBoxのGUIが起動できるようにする。
vb.gui = truevagrant upコマンドを実行した場合に、virtualboxのアプリが起動しVirtualBoxのGUI画面が起動できるようにしておきます。
- Vagrantfileは下に示す例のとおりになります。
# -*- mode: ruby -*-
# vi: set ft=ruby :
# All Vagrant configuration is done below. The "2" in Vagrant.configure
# configures the configuration version (we support older styles for
# backwards compatibility). Please don't change it unless you know what
# you're doing.
Vagrant.configure("2") do |config|
# The most common configuration options are documented and commented below.
# For a complete reference, please see the online documentation at
# https://docs.vagrantup.com.
# Every Vagrant development environment requires a box. You can search for
# boxes at https://vagrantcloud.com/search.
config.vm.box = "ubuntu/bionic64"
# Disable automatic box update checking. If you disable this, then
# boxes will only be checked for updates when the user runs
# `vagrant box outdated`. This is not recommended.
# config.vm.box_check_update = false
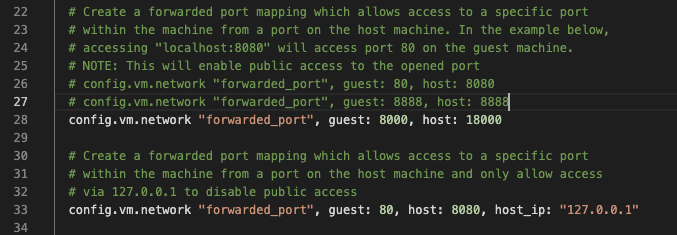
# Create a forwarded port mapping which allows access to a specific port
# within the machine from a port on the host machine. In the example below,
# accessing "localhost:8080" will access port 80 on the guest machine.
# NOTE: This will enable public access to the opened port
# config.vm.network "forwarded_port", guest: 80, host: 8080
config.vm.network "forwarded_port", guest: 8888, host: 8888
# config.vm.network "forwarded_port", guest: 8000, host: 18000
# Create a forwarded port mapping which allows access to a specific port
# within the machine from a port on the host machine and only allow access
# via 127.0.0.1 to disable public access
# config.vm.network "forwarded_port", guest: 80, host: 8080, host_ip: "127.0.0.1"
# Create a private network, which allows host-only access to the machine
# using a specific IP.
# config.vm.network "private_network", ip: "192.168.33.10"
# Create a public network, which generally matched to bridged network.
# Bridged networks make the machine appear as another physical device on
# your network.
# config.vm.network "public_network"
# Share an additional folder to the guest VM. The first argument is
# the path on the host to the actual folder. The second argument is
# the path on the guest to mount the folder. And the optional third
# argument is a set of non-required options.
# config.vm.synced_folder "../data", "/vagrant_data"
config.vm.synced_folder "./workspace19", "/home/vagrant/workspace19"
# Provider-specific configuration so you can fine-tune various
# backing providers for Vagrant. These expose provider-specific options.
# Example for VirtualBox:
#
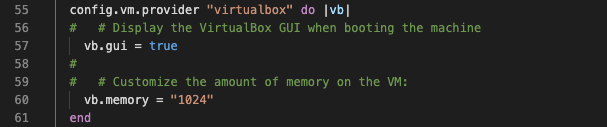
config.vm.provider "virtualbox" do |vb|
# # Display the VirtualBox GUI when booting the machine
vb.gui = true
#
# # Customize the amount of memory on the VM:
vb.memory = "1024"
end
#
# View the documentation for the provider you are using for more
# information on available options.
# Enable provisioning with a shell script. Additional provisioners such as
# Ansible, Chef, Docker, Puppet and Salt are also available. Please see the
# documentation for more information about their specific syntax and use.
# config.vm.provision "shell", inline: <<-SHELL
# apt-get update
# apt-get install -y apache2
# SHELL
end- Jupyter Notebookを使用する場合はVagrantfileのポートフォワーディングにおいて、下記のコードのコメントアウトを外す。
config.vm.network "forwarded_port", guest: 8888, host: 8888- Djangoを使用する場合にはVagrantfileのポートフォワーディングにおいて、下記2行のコードのコメントアウトを外す。
config.vm.network "forwarded_port", guest: 8000, host: 18000config.vm.network "forwarded_port", guest: 80, host: 8080, host_ip: "127.0.0.1"VagrantBoxでUbuntu仮想環境を構築する
Vagrantfileを編集したら下記のコマンドでVagrantBoxの最新バージョンによりゲストOSのubuntu18.04を構築することができます。
$ vagrant box add ubuntu/bionic64 --force$ vagrant box add ubuntu/bionic64 https://vagrantcloud.com/ubuntu/boxes/bionic64/versions/20210402.0.0/providers/virtualbox.box --force
Virtualboxカーネルドライバのインストール
$ sudo kextload -b org.virtualbox.kext.VBoxDrv && sudo kextload -b org.virtualbox.kext.VBoxNetFlt && sudo kextload -b org.virtualbox.kext.VBoxNetAdp && sudo kextload -b org.virtualbox.kext.VBoxUSB && sudo kextload -b org.virtualbox.kext.VBoxDrv && sudo kextload -b org.virtualbox.kext.VBoxNetFlt && sudo kextload -b org.virtualbox.kext.VBoxNetAdp && sudo kextload -b org.virtualbox.kext.VBoxUSBvagrant up コマンド実行
VirtualBoxカーネルドライバのインストールに成功したら、vagrant upコマンドを実行します。実行の途中で下記のようなVirtualboxの画面が表示されますが、そのままにしておきます。
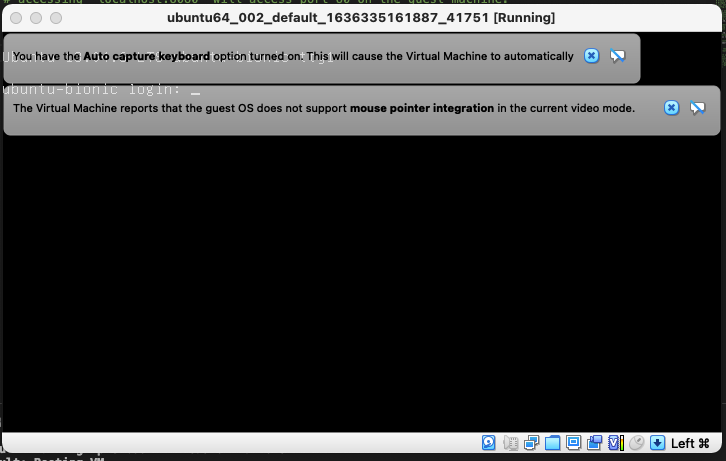
$ vagrant up
$ vagrant status
$ vagrant ssh$ sudo apt update
$ sudo apt upgrade Pyenvを使ってPython環境を構築する
Pythonやanaconda3をインストールするのに、pyenvライブラリを使用します。
Pyenvインストールに必要なライブラリをインストール
次のコマンドでpyenvに必要なライブラリをインストールし、最後にpyenvをgit cloneしてインストールします。
$ sudo apt install -y build-essential libssl-dev libffi-dev python-dev$ sudo apt install build-essential libbz2-dev libdb-dev libreadline-dev libffi-dev libgdbm-dev liblzma-dev libncursesw5-dev libsqlite3-dev libssl-dev zlib1g-dev uuid-dev tk-dev$ git clone https://github.com/pyenv/pyenv.git ~/.pyenvPyenvのパスを通す
pyenvのパスを通します。仮想環境のゲストOS ubuntu18.04の場合は、.profileにパスを追記していきます。
$ echo 'export PYENV_ROOT="$HOME/.pyenv"' >> ~/.profile
$ echo 'export PATH="$PYENV_ROOT/bin:$PATH"' >> ~/.profile
$ echo -e 'if command -v pyenv 1>/dev/null 2>&1; then\n eval "$(pyenv init --path)"\nfi' >> ~/.profile
$ echo 'eval "$(pyenv init --path)"' >>~/.profile
$ echo 'export PYTHONPATH=:"$HOME/tegant/app"' >>~/.profile$ source ~/.profilePython・anacondaのインストール
pyenvコマンドの
$ pyenv install --listでインストールするpython・anacondaなどのバージョンを選択します。

選択したら次のコマンドでインストールします。機械学習などを使用する場合には、anacondaのバージョンを選択すると良いでしょう。
$ pyenv install 3.8.4$pyenv install (バージョン・もしくはリスト名)でコマンドの例はpython3.8.4をインストールする場合です。インストールが完了したら、次のコマンドでシステムに使われているpythonのバージョンを確認します。
$ pyenv versions
*印が付いているバージョンをシステムに利用指定しているので、例えばpython3.8.4を指定したい場合には次のようにします。
$ pyenv global 3.8.4指定したら読み込み設定をして反映させます。
$pyenv rehash最後にpythonのバージョンを確認して、指定どおりのバージョンになっていれば成功です。
$ python -V適宜必要なライブラリは、pip install ~でインストールし、インストールされているパッケージの確認は、pip list で行って下さい。
仮想環境下でのJupyter Notebookの起動
$ jupyter notebook --no-browser --ip=0.0.0.0 --allow-root仮想環境の場合は上記のコマンドを実行し、その結果示されたURLにアクセスすることで、ブラウザが起動して、Jupyter notebookを利用できるようになります。
仮想環境下でのDjango開発サーバーの起動
Djangoをインストールして、開発サーバーの動作確認をする場合は、Djangoプロジェクトのmanage.pyがあるディレクトリにて以下のコマンドを実行し、Vagrantfileで設定したゲストOSでのポートで開発サーバーが起動するかどうか確認する。
$ python manage.py runserver 0:8000ブラウザで確認するには、Vagrantfileで設定したローカルのアドレスとホスト側のポートでアクセスする。
http://127.0.0.1:18000
“MacOS Monteray・VirtualboxによるUbuntu仮想環境にPython環境を構築する” への1件のフィードバック